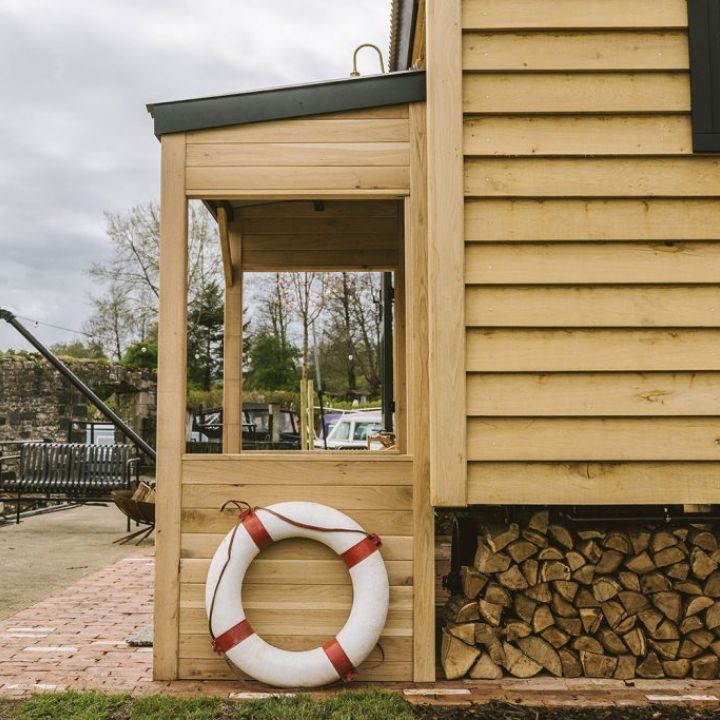


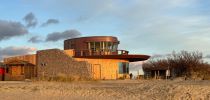
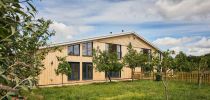

Softwood Cladding Fixing Tips
Best practises & techniques
5th March 2024
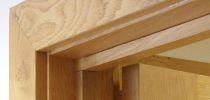
The chosen profile will largely influence how the individual cladding boards fit together, and consequently impact the installation of the cladding.
We strongly recommend that the installation of our cladding products is undertaken by qualified professionals, but below are a few key points you should bear in mind for optimal results.
Acclimatisation
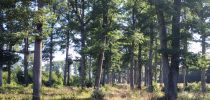
Timber is a natural material and as such will respond to the environment. All timber will swell and shrink as moisture is absorbed and lost from the timber. This is a natural process as the timber seeks to acclimatise and reach equilibrium moisture content with the surrounding environment. This depends on the location of the build. For example, timber used in London will respond to the environment differently to timber used in the Scottish Highlands.
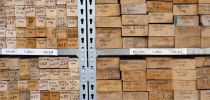
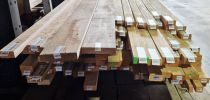
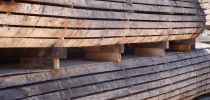
Timber cladding may require time to acclimatise on-site before install. Remove wrappers and store the timber in a dry, cool place with good ventilation through the package to allow it to acclimatise. Spread the boards out on stickers (small timber strips) and cover loosely to reduce the exposure to moisture and allow air flow around all boards, greatly reducing the risk of discolouration to the timber.
Membranes
A timber rain-screen can allow some moisture through joints, and in such an installation an appropriate breather membrane is recommended to prevent moisture ingress into the structure of the wall. Choose a UV Facade membrane for open jointed cladding, and a normal BBA approved breathable membrane for closed rainscreen cladding. It is also recommended to install insect mesh around all open cavities.
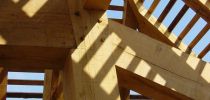
Support battens
Cladding boards are usually fixed to preservative-treated softwood cladding battens. These will normally be spaced 400-600mm apart, and oriented perpendicular to the cladding boards: horizontal cladding boards on vertical battens; vertical cladding boards on horizontal battens. Depending on the board profile and installation method, vertical counter battens may be installed first to provide drainage and ventilation. Horizontal battens should have their top edge angled to shed water.
Ventilation
The space behind the cladding created by the cladding battens should be drained and ventilated. This serves three purposes:
- If the cladding is fixed to a timber frame building, the drainage and ventilation help to ensure long-term durability of the structure.
- The ventilation space allows cladding boards to dry more rapidly after wetting.
- The ventilation space helps to equalise the moisture content of the inner and outer faces, and reduces the risk of the boards cupping.
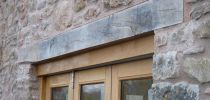
Flashing details at the base of the cladding and around windows and doors should be designed to shed water away from the building while maintaining the required ventilation. Check the requirements for fire-resistant cavity barriers with local building control and consider using third-party approved, ventilated cavity barriers where needed.
Allowing for movement
Boards will expand and contract in width (but not length) through the different seasons of the year as moisture levels change. In wet conditions they will expand, and in dry conditions they with shrink. It is essential to allow for this natural change in width of the boards by allowing a gap between the boards when installing the cladding.
For species with large movement, allow a 4-6mm gap; for species with medium movement, allow a 2-4mm gap; for species with small movement, allow a 1-2mm gap. Thermally modified timbers are very stable and therefore no gap is necessary. Note, face widths shown on the profile drawings in this guide do not allow for an expansion gap - the width of the gap needs to be added to the face width when calculating requirements. You should also allow between 6-10mm for drainage gaps on corner profiles, ends, and sides.
Fixing the boards
Each cladding board should be individually fixed. Softwood cladding boards are normally nailed onto timber support battens with stainless steel nails. It may be possible to use galvanised nails if the boards are to be painted, but we would always recommend using Stainless Steel grade 304 fixings. Cheaper galvanised or coated options will eventually rust and mark the cladding, which can ruin the appearance and is difficult to rectify.
If using nails, we recommend using annular ring shanks. We do not recommend using brad nails or pins as they are typically not strong enough.
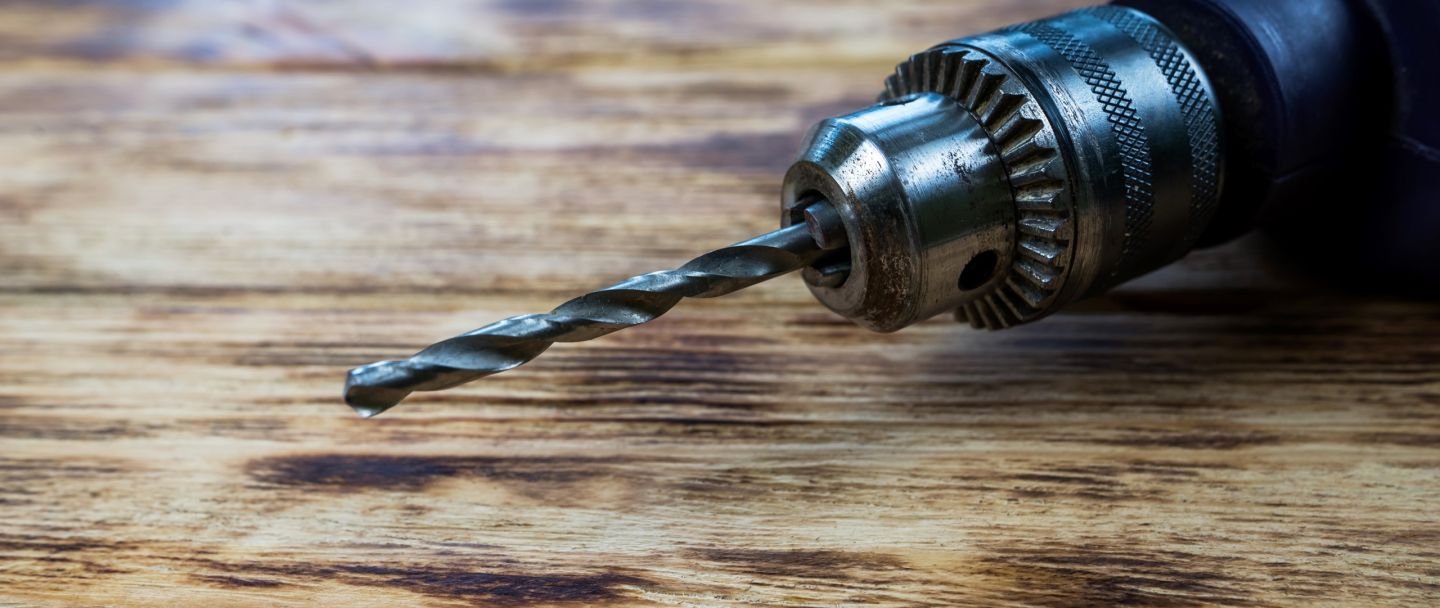
Western Red Cedar, Douglas Fir and hardwood species such as Oak must be fixed with stainless steel screws. Pre-dilling pilot holes is recommended to reduce splitting around fixing points, and slightly oversized to allow expansion and shrinkage of the board. Cladding boards that are 100mm or wider should have two screws per batton, except for secret fix tongue and groove profiles and 150mm wide featheredge. Screws should penetrate into the batton 2 to 2.5 times the thickness of the cladding.
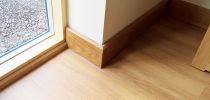
Detailing
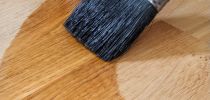
The design of the cladding should avoid moisture traps and projections which will allow splash back onto the cladding. Cutting the ends of vertical cladding board to an angle will allow moisture to drip from the ends of the boards more easily. Sealing any cuts on the board, as well as the end grain, is recommended practise to limit moisture ingress.